Everyone can agree that bathrooms are gross and a haven for bacteria and even mold to thrive. I think we are all well-trained to clean bathrooms often, run the fans when showering and making sure that countertops are wiped clean on the regular. But oftentimes, what is ON the counter is overlooked. All the goodies like makeup, brushes, beauty sponges and even our skin care products need to be cleaned and checked often! Using clean hands, cleaning brushes and sponges that come in contact with make-up cakes and creams is critical to minimizing bacteria growth in those expensive pots and compacts. Here are some basic tips below!
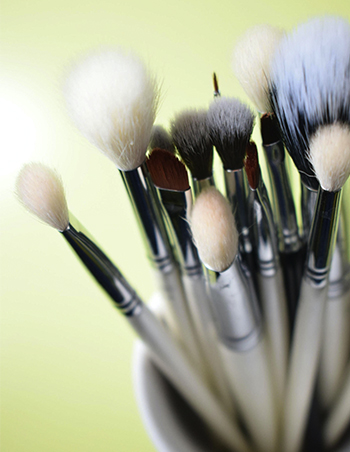
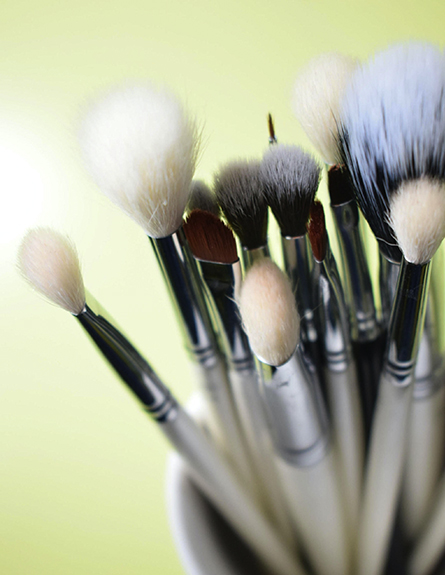
How often should we clean our brushes? There is no definitive answer on exactly how often you should be cleaning your brushes and sponges but the general consensus between make-up artists and dermatologists is weekly for all-over brushes where you can start to see the color of the products you are using in and on the fibers of the brush – think bronzer, foundation, blush. Less often for brushes that are used less often or on eyelids.
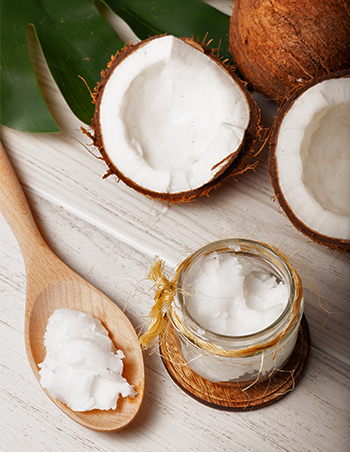
What should we use to clean our brushes? Gentle is the key; you want to look for a brush cleanser that is chemical free and gently as to maintain the longevity of your brushes. I use the Aleavia Enzymatic Body Cleanse – it is plant based, paraben free and organic. I also use a darling cleansing mat from Organic Bunny which has a suction cup on the back which holds it in place while you cleans your brushes against the uneven surface. This allows your brushes to be agitated enough that the cleanser can get all those nooks and crannies for a squeaky clean!
Cleaning your brushes is quick and easy. I tend to do this in the evening so the brushes have overnight to dry and be ready for me in the morning. Just a couple easy steps – start by getting the water just lukewarm, stick your silicone matt to the base of the skins so the water from the faucet will reach the pad. After getting the matt wet, turn the water off and put a few drops of your brush cleanser directly on the matt. Use your brushes to swirl around the cleanser on the matt. As I mentioned above, the uneven surface of the matt makes it easy to just swirl the brushes around until sudsy. After a few seconds of gently swirling, you may be shocked at the color of the suds! Groddy to the max – a quick 80’s reference for you to enjoy! Not to worry, turn on the warm water again and continue until all the suds and makeup residue is swirling down the drain. Once you the brushes are thoroughly cleaned, rinse and then lay down on a clean cloth to dry. Ensuring the bristles are straight and even before you lay them down will keep the shape of your brushes and help them last longer. They should be dry and ready to use the next day.
Make-up like eyeshadow, foundations and powders are expensive. I get it. And if you are like me, I don’t use these types of products often enough to get to the bottom of the compact or pot. These products are tough for me to weed out and ditch because sometimes they are nearly still full! I do try to be vigilant with older make-up that has been hanging around my bathroom for too long. Do your best! I know it is hard. The good news is if you are cleaning your brushes on the regular, that will help keep bacteria at bay. But a side note to any make-up brands out there… make your product size smaller so it doesn’t seem so daunting to use the whole thing!
As always, I love hearing from this amazing community what you all are doing to keep what is on your bathroom counters clean and hygienic – send me some ideas!